The 1992 Corvette transmission fluid cooler lines diagram shows how two metal tubes carry hot transmission fluid from the transmission under the car to a separate cooler in front of the radiator and then back again. It helps you see where each line lives and how to hook everything up safely.
You will learn how to spot each cooler line under your Corvette, understand the simple flow path through the diagram, and get step-by-step tips for neat installation.
You will discover easy maintenance tricks, common upgrades forum members recommend, and answers to everyday questions about the cooler lines.
1992 Corvette Transmission Fluid Cooler Lines Diagram Explained
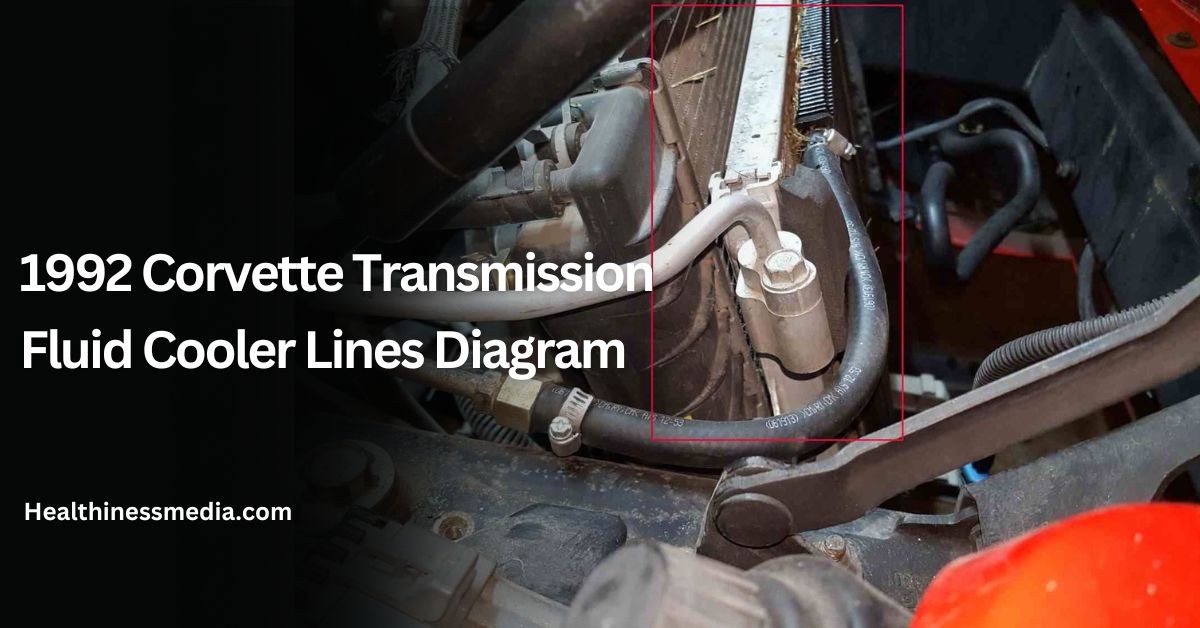
Every transmission needs a way to stay cool. On a 1992 Corvette, two cooler lines run from the transmission pan up to a small separate cooler in front of the radiator. One line carries hot fluid out of the transmission; the other brings cooled fluid back in. In the factory diagram, you’ll see:
- Line A (Supply Line): Runs from the transmission’s side port up to the cooler inlet.
- Line B (Return Line): Runs from the cooler outlet down to the transmission’s other port.
- Bracket Points: Clips that hold the lines along the frame rails so they don’t rub on anything.
- Fittings: At each end, the lines use threaded fittings that match the transmission housing and the cooler.
When you look at the diagram, imagine tracing each tube with your finger from the transmission to the cooler and back. Seeing it on paper first makes the real-life setup feel easy and safe.
How to Read the 1992 Corvette Transmission Fluid Cooler Lines Diagram
- Find the Transmission Ports: In the engine-bay view of the diagram, notice two small circles on the side of the transmission. These are where the lines attach.
- Trace the Lines: Follow the line that goes from the lower port up in front of the engine and the one that comes back down. They usually mirror each other.
- Locate the Cooler: In most diagrams, the cooler is drawn as a small rectangular box just in front of the car’s radiator.
- Check Mounting Clips: Brackets are usually shown as tiny rectangles or arrows along the frame rail. These keep the lines in place.
- Note Line Shape: The tubes have gentle bends—no sharp corners. Bends let the hoses follow the car’s shape without kinking.
By practicing on the diagram first, you’ll feel confident when you slide under the Corvette to follow each cooler line in real life.
1992 Corvette Transmission Fluid Cooler Lines Diagram Installation Tips
Many CorvetteForum members share their tips when upgrading or replacing these lines. Here are a few friendly pointers:
- Front-of-Radiator Mounting: One member suggested installing the cooler in front of the radiator and behind the engine oil cooler for best airflow. This spot keeps the transmission fluid cooler away from engine heat yet in fresh air.
- Use AN Fittings: If you choose flexible braided lines, you can swap the factory fittings for AN-style fittings. These give a tight seal and make it easy to route new lines without leaks.
- Run Direct Lines: Don’t loop transmission fluid through the radiator. Instead, run lines directly from the transmission to the separate cooler and back. This setup lowers fluid temperature faster under heavy use.
- Add a Temperature Gauge: Installing an inline trans-temp gauge near the cooler inlet helps you see fluid temperature while driving. CorvetteForum members said this lets you catch overheating before damage occurs.
- Bracket Reinforcement: If the factory clips are worn, replace them or add new zip ties rated for engine bay use. Secure lines firmly to avoid chafing.
These tips turn a simple diagram into real-world success. When you bolt on the cooler and snug the fittings, you’ll feel proud knowing you followed advice from experienced Corvette owners.
Why the 1992 Corvette Transmission Fluid Cooler Lines Diagram Matters
- Prevents Overheating: A clear diagram helps you install or replace lines correctly so your transmission fluid stays cool under stress.
- Protects Transmission: Cooler fluid means less wear on gears and seals, so your Corvette shifts smoothly for years.
- Saves Money: Avoiding transmission rebuilds by using a proper cooler setup can save thousands over the life of your car.
- Improves Performance: Cooler fluid keeps shift points crisp on hot days or at the track.
- Boosts Confidence: With a diagram in hand, you can tackle installation yourself without second-guessing where each tube goes.
When you see the big picture, the simple path of two tubes makes sense. It’s just a loop: out, cool, back in.
1992 Corvette Transmission Fluid Cooler Lines Diagram Maintenance
Even after a perfect install, cooler lines need a little care:
- Regular Inspections: Every oil change, look at each line’s entire length. Check for dents, rust, or rubbing marks.
- Check Fittings: At each end, lightly tug the fittings; they should stay snug. If you spot any seepage, tighten just a quarter-turn.
- Clean the Cooler: Every spring, spray the cooler fins with low-pressure water to remove bugs and dust so airflow stays strong.
- Replace Old Lines: After 20+ years, steel tubes can corrode. If you see blistered paint or surface rust, consider fresh stainless-steel or braided hoses.
- Monitor Fluid Temperature: Watch your new gauge and note normal running temperature. If it creeps up over 200°F, check cooler and lines for blockages or leaks.
A little attention keeps the system working exactly like the diagram shows—and like it did in 1992.
Common Questions about 1992 Corvette Transmission Fluid Cooler Lines Diagram
Can I run transmission fluid through the radiator cooler instead?
The C4 Corvette’s factory design sends fluid through a separate cooler. Using the radiator stresses its system and gives poorer cooling under load.
Are braided hoses better than steel lines?
Braided hoses with AN fittings let you flex the routing and resist dents. Steel lines resist heat but can corrode over decades.
Where do I buy correct fittings and clips?
Corvette parts vendors and performance shops carry OEM-style fittings. AN fittings come in kits. Replace worn clips with CorvetteForum recommended zip-tie brackets.
How tight should cooler-line fittings be?
Hand-tighten, then add a quarter-turn with a wrench. Over-tightening can strip threads, while under-tightening can leak.
Why is my fluid still running hot?
Check for clogged cooler, bent lines, or low airflow. Make sure the cooler is in front of the radiator and free of debris.
Human Thoughts on the 1992 Corvette Transmission Fluid Cooler Lines Diagram
When I first slid under my 1992 Corvette, the two rusty steel tubes looked intimidating. The diagram made them friendly. I traced each bend on paper, then in the engine bay. Suddenly, I understood: it’s just two tubes and a box. The forum tips—like moving the cooler right in front of that fresh breeze—came alive when I bolted everything up. Adding a small gauge let me watch the temperature drop on long drives. It felt like giving my Corvette a spa day.
You might worry about drilling or cutting. The diagram shows only existing mounting points. You’re not inventing anything new—just following the factory path. And when you tighten those AN fittings, it clicks into place. You’ll think, “That was easy.” And the shift quality? Smoother than ever.
Bringing Your Learning to Life with the 1992 Corvette Transmission Fluid Cooler Lines Diagram
- Print the Diagram: Keep it in your glovebox. It’s your map under the car.
- Mark Your Lines: Use colored tape to label supply and return lines before removing them.
- Practice Routing: Lay new lines out on a bench first, following the curves in the diagram.
- Ask the Community: Share photos on CorvetteForum’s C4 Tech/Performance section to get feedback.
These simple steps turn a paper diagram into real work that you can see and feel.
In A Nutshell:
The 1992 Corvette transmission fluid cooler lines diagram is your friend under the car, guiding you step by step with clear routes from transmission to cooler and back again. Understanding the Diagram gives you the power to install, maintain, and upgrade your cooling setup with confidence.
Get your printout, gather the right fittings, and follow the bends. Soon, you’ll be back on the road, shifting smoothly and knowing your transmission fluid stays cool, just like in the diagram.